
Digital Thermostat Heating Element 300w - Brushed Brass
Digital Thermostat Information
Functionality
The heater offers five temperature settings from 30 °C to 65 °C. An electronic temperature sensor ensures precise temperature control. The device displays the temperature to which it is currently set, and indicates the status of the heating cycle. Comes with 2 hour boost, 12/24 hour recurring timer.
Safety
The heater has an active safety feature which initiates in the event of dry radiator operation. The heating element is equipped with a temperature sensor and thermal fuse (double overheating protection) and offers frost protection (ANTIFREEZE). The heater will display warning indicators in the case of malfunction.
User Gudie


TECHNICAL CHARACTERISTICS
| POWER | (W) | 100 | 200 | 300 | 400 | 500 | 600 | 700 | 800 | 900 | 1000 |
| Energy density | (W/Cm² ) | 1.5 | 2.9 | 4.0 | 4.1 | 4.1 | 4.1 | 4.0 | 4.0 | 4.0 | 4.0 |
| L(heating element) | (mm) | 350 | 350 | 370 | 430 | 450 | 560 | 630 | 700 | 760 | 830 |

Electronic control for towel radiators
WARNING ! RISK OF ELECTRIC SHOCK!
Disconnect power supply before proceeding with installation.
Preserve with care the present instruction sheet and read carefully before using the device.
- The present device has been designed for exclusive use on a towel radiator.
- The thermostat is designed for heating the liquid contained inside a towel radiator in combination with a heating element. Any other use is forbidden.
- Before using, carefully ensure that the line voltage is the same as that specified for the device (see technical specifications).
- Only use heating elements compatible with the type of used towel radiator.
- Disconnect power supply before cleaning or before performing maintenance of the product.
- In case of damage of the power supply cable shut down the device and do not tamper with it. The damaged power supply cables can be replaced exclusively by the manufacturer or by an authorized service center. Failure to comply with the above rules could lead to compromised system safety and void the warranty.
- Store and transport the heating element exclusively in the protecting packaging.
- Replacement of the heating element can be done exclusively by the product manufacturer.
⚙️Installation Guide
To be used by installer only
• Disconnect the device from power supply before proceeding with installation.
• Protect the device with a 30mA RCD circuit breaker.
- Insert the heating element in the threaded opening located on the bottom part of the radiator.
- Securely fasten the electric resistance to the body of the towel radiator with a 22mm wrench.
- The special sheath ensures a secure mounting and eventually allows a slight supplemental torsion to perfectly align the thermostat with the radiator.
- Tilt the radiator as in fig. 3, making sure that the opening on top of the radiator is located on the highest side. WARNING. Do not lean the radiator on the electronic control!
- Fill the radiator with the specific liquid.
- Put the radiator back in vertical position and check the internal level of the liquid (fig. 4).
- Ensure a proper fastening of the heating element in the radiator.
- Connect the device to mains and start heating (the top opening of the radiator must remain open!).
- Set the maximal temperature and check the level of the internal liquid. Due to thermal expansion the liquid could brim over the radiator.
- Remove the exceeding liquid (be careful to avoid burns!) in order to keep the thermostat dry and avoid the liquid reaching the border. When the level of the liquid stops growing wait for additional 5 minutes then stop heating.
- If necessary, top up the radiator before the liquid cools down (keep the temperature of the internal liquid checked all the time).
- Close the top opening of the radiator with the appropriate cap.
- Hook the radiator to the wall.
- Connect the device to the mains.

Browse More From This Collection
|
Manual Valves
|
Modern TRV and Lockshield Sets
|
Ornate TRV and Lockshield Sets
|
|
Corner Valves
|
Angled Valves
|
Straight Valves
|
|
Manual Dual Fuel Valves
|
TRV Dual Fuel Valves
|
T-Pieces
|
|
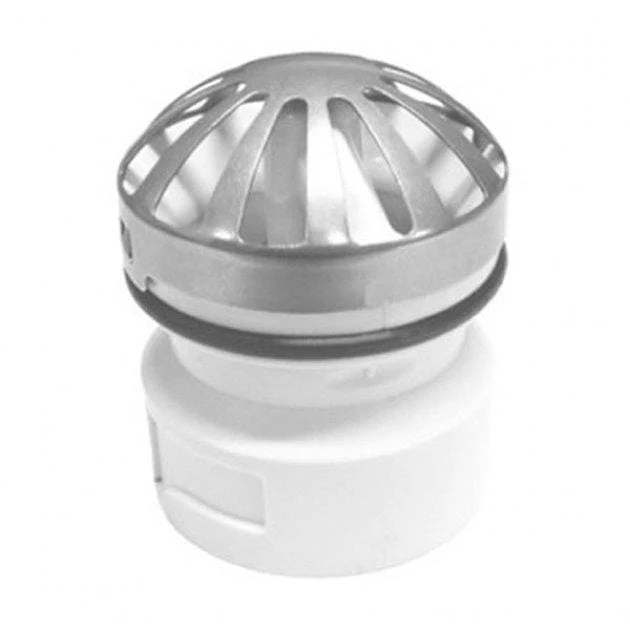
Air Vent & Plug Sets
|
18mm Pipe Sleeves
|
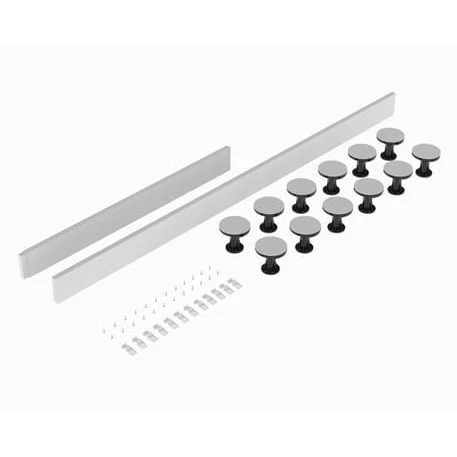
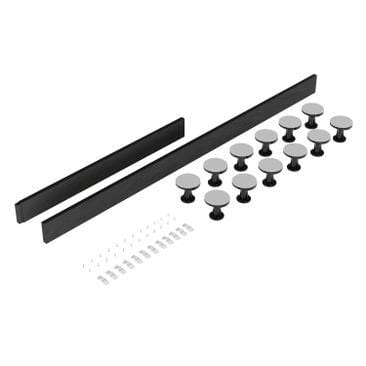
Element Shroud Cover Sets
|


|
Round Valves
|
Square Valves
|
|
Standard and Digital Elements
|
Traditional Radiators
|


Product Information
Product Information
Shipping & Returns
Shipping & Returns
Description
Digital Thermostat Information
Functionality
The heater offers five temperature settings from 30 °C to 65 °C. An electronic temperature sensor ensures precise temperature control. The device displays the temperature to which it is currently set, and indicates the status of the heating cycle. Comes with 2 hour boost, 12/24 hour recurring timer.
Safety
The heater has an active safety feature which initiates in the event of dry radiator operation. The heating element is equipped with a temperature sensor and thermal fuse (double overheating protection) and offers frost protection (ANTIFREEZE). The heater will display warning indicators in the case of malfunction.
User Gudie
TECHNICAL CHARACTERISTICS
| POWER | (W) | 100 | 200 | 300 | 400 | 500 | 600 | 700 | 800 | 900 | 1000 |
| Energy density | (W/Cm² ) | 1.5 | 2.9 | 4.0 | 4.1 | 4.1 | 4.1 | 4.0 | 4.0 | 4.0 | 4.0 |
| L(heating element) | (mm) | 350 | 350 | 370 | 430 | 450 | 560 | 630 | 700 | 760 | 830 |
Electronic control for towel radiators
WARNING ! RISK OF ELECTRIC SHOCK!
Disconnect power supply before proceeding with installation.
Preserve with care the present instruction sheet and read carefully before using the device.
- The present device has been designed for exclusive use on a towel radiator.
- The thermostat is designed for heating the liquid contained inside a towel radiator in combination with a heating element. Any other use is forbidden.
- Before using, carefully ensure that the line voltage is the same as that specified for the device (see technical specifications).
- Only use heating elements compatible with the type of used towel radiator.
- Disconnect power supply before cleaning or before performing maintenance of the product.
- In case of damage of the power supply cable shut down the device and do not tamper with it. The damaged power supply cables can be replaced exclusively by the manufacturer or by an authorized service center. Failure to comply with the above rules could lead to compromised system safety and void the warranty.
- Store and transport the heating element exclusively in the protecting packaging.
- Replacement of the heating element can be done exclusively by the product manufacturer.
⚙️Installation Guide
To be used by installer only
• Disconnect the device from power supply before proceeding with installation.
• Protect the device with a 30mA RCD circuit breaker.
- Insert the heating element in the threaded opening located on the bottom part of the radiator.
- Securely fasten the electric resistance to the body of the towel radiator with a 22mm wrench.
- The special sheath ensures a secure mounting and eventually allows a slight supplemental torsion to perfectly align the thermostat with the radiator.
- Tilt the radiator as in fig. 3, making sure that the opening on top of the radiator is located on the highest side. WARNING. Do not lean the radiator on the electronic control!
- Fill the radiator with the specific liquid.
- Put the radiator back in vertical position and check the internal level of the liquid (fig. 4).
- Ensure a proper fastening of the heating element in the radiator.
- Connect the device to mains and start heating (the top opening of the radiator must remain open!).
- Set the maximal temperature and check the level of the internal liquid. Due to thermal expansion the liquid could brim over the radiator.
- Remove the exceeding liquid (be careful to avoid burns!) in order to keep the thermostat dry and avoid the liquid reaching the border. When the level of the liquid stops growing wait for additional 5 minutes then stop heating.
- If necessary, top up the radiator before the liquid cools down (keep the temperature of the internal liquid checked all the time).
- Close the top opening of the radiator with the appropriate cap.
- Hook the radiator to the wall.
- Connect the device to the mains.
Browse More From This Collection
|
Manual Valves
|
Modern TRV and Lockshield Sets
|
Ornate TRV and Lockshield Sets
|
|
Corner Valves
|
Angled Valves
|
Straight Valves
|
|
Manual Dual Fuel Valves
|
TRV Dual Fuel Valves
|
T-Pieces
|
|
Air Vent & Plug Sets
|
18mm Pipe Sleeves
|
Element Shroud Cover Sets
|
|
Round Valves
|
Square Valves
|
|
Standard and Digital Elements
|
Traditional Radiators
|